Automated Welcome Email Series
I have found the popular email service provider, ConvertKit, to be my best tool for when I want to create an automated Welcome Email series that go out to my new subscribers.
Disclosure: There are some affiliate links below and I may receive commissions for purchases made through links in this post at no additional cost to you.
There are many benefits to gathering emails as soon as you start up your blog:
- To pave the way for building a relationship with a potential customer
- You have a vehicle to ask the subscriber directly how you can help them
- Emails have a higher conversion rate because the subscriber has made the choice to opt-in
- Email has been around for a while and outnumbers the number of social media accounts
Why I Decided to Automate Subscriber Welcome Emails
When I started this blog, I opted to use MailChimp as my email provider.
Mailchimp is another great email service provider, which is free up to 2,000 subscribers and 12,000 emails per month.
Mailchimp also has paid email provider options.
My goal was to ramp up this blog well past 2,000 subscribers, and I knew I wanted a more robust email system.
I didn’t want to build a strong subscriber email list and then have to go through the process of switching over to a different company, so I decided early on to use ConvertKit.
When I say early on, I believe I switched over to Convertkit after less than a week or two on Mailchimp.
To facilitate building my email list, I got myself up to speed on Pinterest to drive traffic to my website.
Click here to find out how I grew my Pinterest following to over 1,000 followers in my first 30 days on Pinterest.
Before using ConvertKit, I would check my emails daily and send a personal ‘thank you for signing up’ to each individual.
I then manually sent a second and third follow up email.
You can imagine how out of hand this can get whenever you have an influx of subscribers on top of trying to do everything else that entails maintaining a new blog.
If I missed a day, it became total chaos in trying to decide who I had already sent which email to.
I generally send out newsletters on Thursdays.
Therefore, if a subscriber signed up on Saturday and I missed sending out a welcome email to them, it would be over a week before they heard from me.
In the world of blogging, it’s important that your new subscriber hear from you so that they remember you and what they’ve signed up for.
Sherry Y. Smith
Once I signed up with ConvertKit, creating a Welcome Sequence of emails became a piece of cake and I was able to easily automate the process.
Now once a new subscriber signs up for my newsletter or one of my other freebies, they automatically receive a sequence of welcome emails.
Welcome Email #1
The first email in the sequence goes out immediately once the subscriber confirms.
This initial email welcomes the subscriber and lets them know a little bit about myself (I hope you’ve joined my list).
My initial welcome email is the beginning of building a relationship that I hope to become long term with my reader.
Welcome Email #2
One day after initially signing up, my automated email sequence sends out a second email that asks the user a couple of questions so that I get to know them better.
Welcome Email #3
My third email in my sequence series sends the third welcome email three days after the second email goes out.
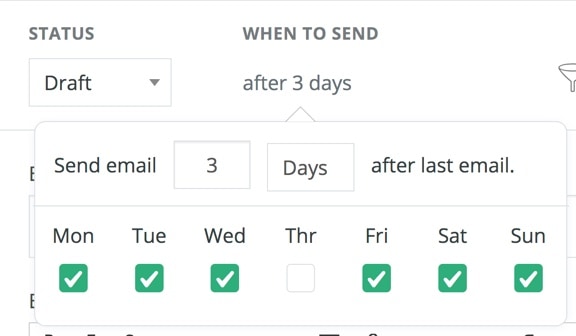
Because I generally send my newsletter out on Thursday, I have it set so that if either email 1 or 2 occurs on a Thursday, the email will not go out then, but will happen the following day.
This prevents the new subscriber from being bombarded with two emails on the same day (note the screenshot below).
Here are the steps for setting up Your Automated Welcome email sequence in Convertkit.
Step 1. Sign up for ConvertKit.
ConvertKit has a FREE signup option.
Sign up and Log in to ConvertKit.
Step 2. Select SEQUENCES.

Step 3. Select New Sequence.

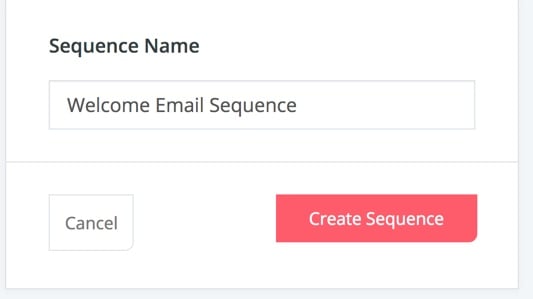
Step 4. Enter a Sequence Name.
In the example below, I named the sequence ‘Welcome Email Sequence‘. Your subscribers will not see this name.
Step 5. Press Create Sequence.
You will now see the Content Page of your sequence.
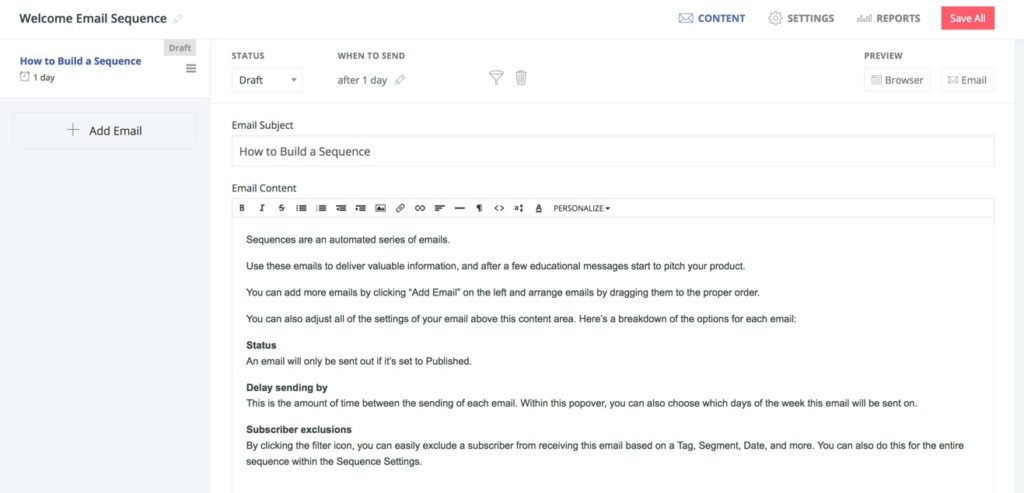
This Content Page will become the first email in your sequence. Here are the components of this first sequence.
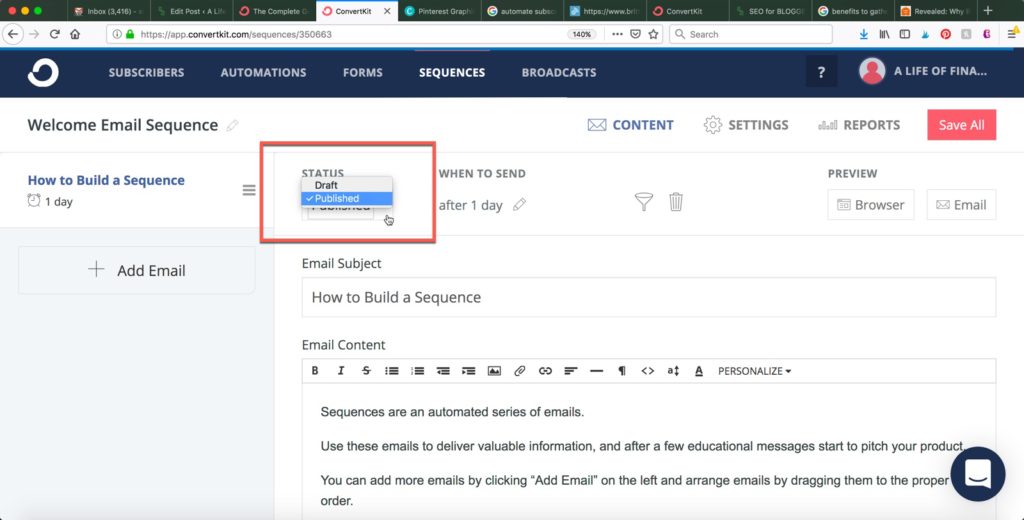
Status – The email will remain in a Draft mode until you decide you are finished, at which point you will set it to ‘Publish’.
When To Send – To send your email out immediately, set this to 0.
Email Subject – This is the name the subscriber will see in their incoming email.
Email Content – Begin typing your welcome email that will go out to each subscriber.
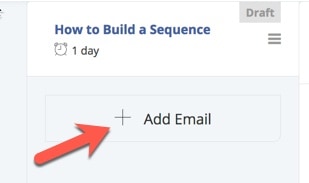
+ Add Email – Click here to add a follow-up email to your sequence.
This will become Welcome Email #2 in your series. Your first email will be sent when a person subscribes.
This second email and any others you create will be based on the format you set in “days after last email”.
The first email in a Sequence will be triggered by a subscription, so the timing will be in the “days after subscription” format.
If you’d like this email to go out immediately, set this number to 0.
Preview – You can see how the email will look in your subscriber’s Browser or Email by pressing either of these for a review.
Going LIVE with your email sequence.
Once you’re ready to put your email sequence into action, change it from ‘Draft‘ to ‘Published‘ and it will go live immediately.
Checking to See if Your Sequence was sent correctly.
Click on Reports (top right-hand corner) then click “Subscribers” on the left-hand side.
The Subscriber’s profile will show which Sequence emails have been received and when they were received.

Related Posts:
